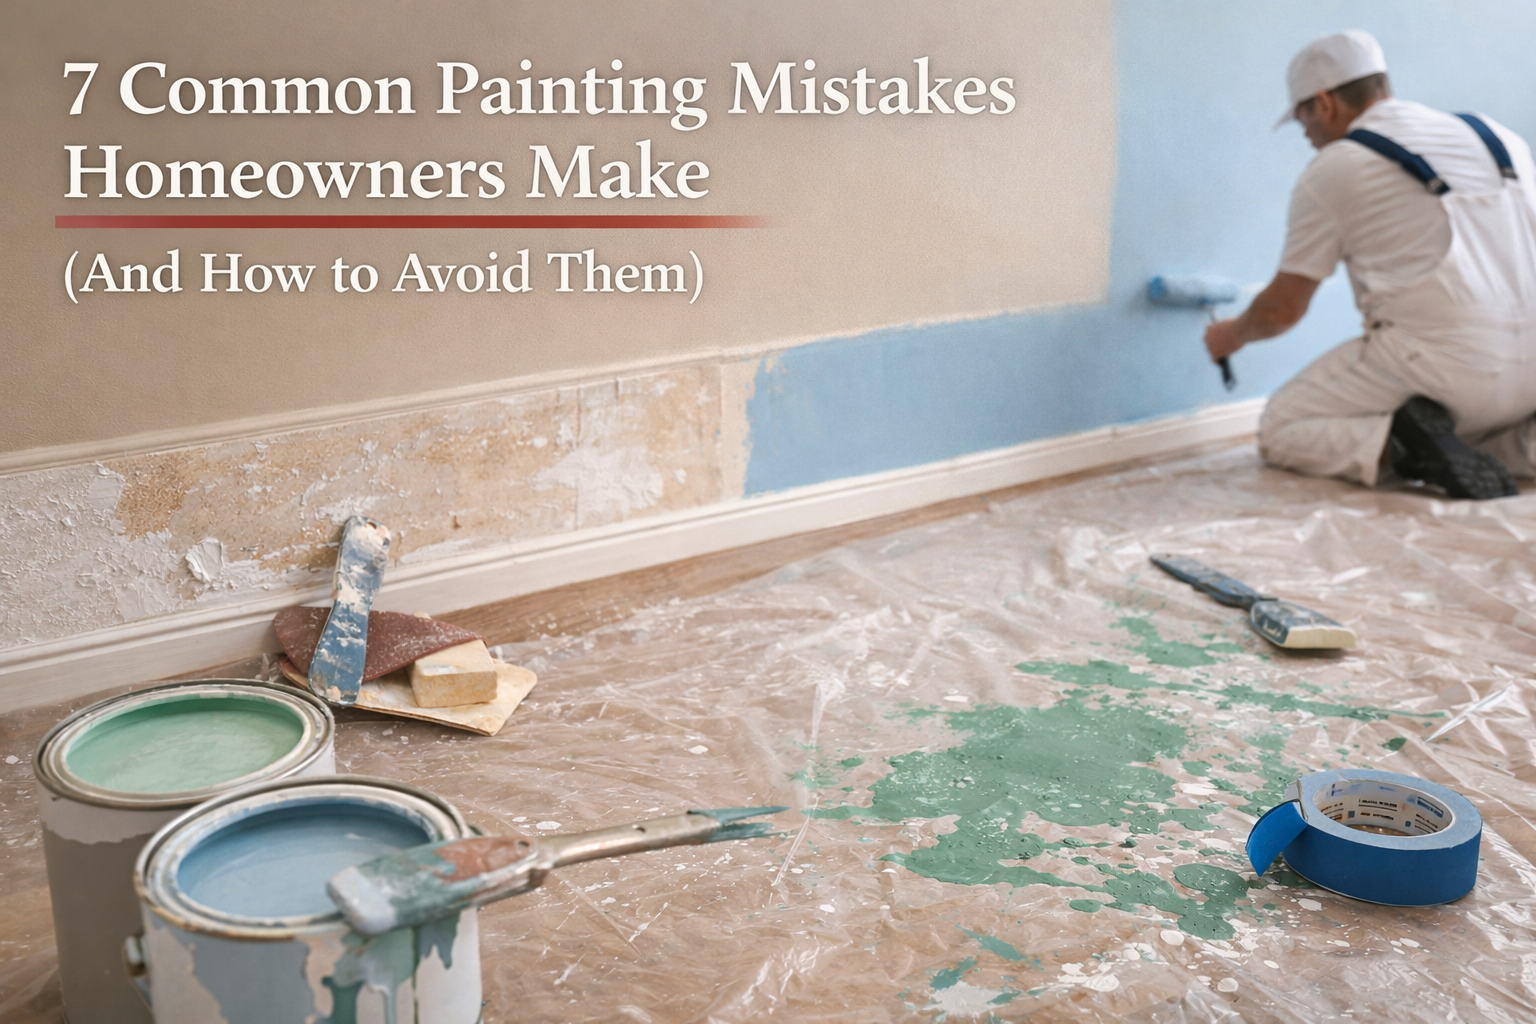
7 Common Painting Mistakes Homeowners Make (And How to Avoid Them)
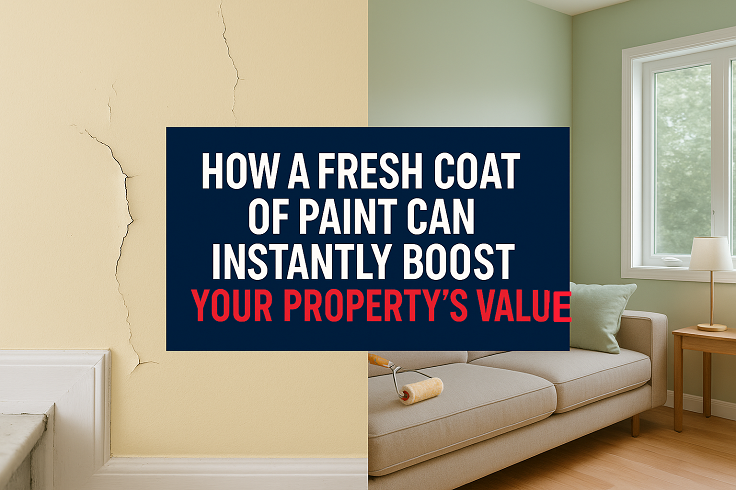
A fresh coat of paint can completely transform a room, but a DIY paint job can easily go wrong. From messy edges to peeling paint, many homeowners find that what seemed like a simple weekend task quickly becomes a source of frustration. The good news is that most common painting mistakes are entirely avoidable with a little bit of planning and knowledge.
If you’re a homeowner or property manager looking to tackle a painting project, understanding these common pitfalls is the first step toward achieving a professional-looking finish. This guide will walk you through seven frequent errors and explain how you can steer clear of them. With these tips, you can save yourself time, money, and the heartache of a job that doesn’t meet your expectations.
At Paintbusters Australia, we believe everyone deserves a beautiful space. Whether you’re doing it yourself or hiring a professional, we’re here to help you get the best possible results for any project, big or small.
Mistake 1: Skipping the Prep Work
It’s tempting to jump straight to the exciting part applying the colour. However, failing to prepare your surfaces properly is one of the biggest mistakes you can make. Paint needs a clean, smooth surface to adhere to correctly. Painting over dirt, dust, or grease will lead to a poor finish and can cause the paint to chip or peel later on.
How to Avoid It:
- Clean the Walls: Before you do anything else, wash your walls with a mild detergent and water. For greasy spots, especially in kitchens, a specialised cleaner might be necessary. Let the walls dry completely.
- Repair Imperfections: Fill any cracks, holes, or dents with spackle or a suitable filler. Once it’s dry, sand the patched areas until they are smooth and level with the rest of the wall.
- Sand Surfaces: For glossy or previously painted surfaces, a light sanding is essential. This scuffs up the surface, giving the new paint something to grip onto. After sanding, wipe away the dust with a damp cloth.
Mistake 2: Forgetting to Use Painter’s Tape
Achieving clean, crisp lines between walls, ceilings, and trim is the hallmark of a professional paint job. Without painter’s tape, it’s nearly impossible to get these sharp edges, resulting in a messy and amateurish look. It might seem like a tedious step, but it’s worth the effort.
How to Avoid It:
- Apply Tape Carefully: Take your time applying painter’s tape along the edges of trim, skirting boards, windows, and ceilings.
- Press Down Firmly: Use a putty knife or a credit card to press down firmly along the edge of the tape. This creates a tight seal and prevents paint from seeping underneath.
- Remove it Correctly: Don’t wait for the paint to dry completely. Remove the tape when the paint is still slightly tacky, pulling it off at a 45-degree angle for the cleanest line.
Mistake 3: Not Using Primer
Many people think primer is an unnecessary expense, especially if they’re painting over a similar colour. However, primer serves several important functions. It seals the surface, ensures even paint absorption, hides previous colours or stains, and helps the topcoat adhere better, resulting in a more durable and vibrant finish.
How to Avoid It:
- Always Prime New Drywall: Unpainted drywall is very porous and will soak up paint unevenly without a coat of primer.
- Use Primer for Drastic Colour Changes: If you’re painting a light colour over a dark one (or vice versa), a tinted primer will help you achieve the true colour with fewer coats of paint.
- Prime Stained or Glossy Surfaces: A stain-blocking primer is essential for covering water spots, smoke stains, or permanent marker. For glossy surfaces, a bonding primer will ensure the new paint sticks.
Mistake 4: Choosing the Wrong Paint or Finish
With so many types of paint and finishes available, it’s easy to get overwhelmed and make the wrong choice. Using interior paint on an exterior surface, for example, will lead to rapid deterioration. Similarly, the wrong finish can highlight imperfections or be difficult to clean.
How to Avoid It:
- Match the Paint to the Room: Use moisture-resistant paint (typically with a satin or semi-gloss finish) for bathrooms and kitchens. For high-traffic areas like hallways, a durable finish likes satin or eggshell is a good choice. Flat or matte finishes are great for hiding imperfections on low-traffic walls like in bedrooms or living rooms.
- Consider the Finish:
- Matte/Flat: No shine, good for hiding imperfections, but harder to clean.
- Eggshell/Satin: Low lustre, easier to clean than flat, good for most rooms.
- Semi-Gloss/Gloss: High shine, very durable and easy to clean, ideal for trim, doors, and kitchens.
If you’re unsure, a colour consultant from a service like Paintbusters Australia can provide expert advice tailored to your space.
Mistake 5: Using Low-Quality Brushes and Rollers
The quality of your tools matters just as much as the quality of your paint. Cheap brushes and rollers shed bristles and fibres, leave streaks, and don’t hold enough paint, forcing you to work harder for a subpar result.
How to Avoid It:
- Invest in Good Tools: Purchase high-quality brushes and rollers. They will hold more paint, apply it more evenly, and last for many projects if cleaned and stored properly.
- Choose the Right Roller Nap: The thickness of the roller cover (the nap) should match your wall’s texture. Use a shorter nap (3/8 inch) for smooth surfaces and a thicker nap (1/2 inch or more) for textured walls like brick or stucco.
Mistake 6: Applying Only One Coat of Paint
Even with high-quality “paint and primer in one” products, a single coat is rarely enough to achieve a rich, even colour. Skimping on the second coat can leave you with a patchy, streaky finish that looks unfinished.
How to Avoid It:
- Plan for Two Coats: Always assume you will need at least two coats of paint for full, consistent coverage.
- Allow Proper Drying Time: Check the paint can for the recommended drying time between coats. Applying a second coat too soon can cause the first coat to peel or bubble. Patience is key.
Mistake 7: Overloading the Brush or Roller
Dipping your brush or roller too deep into the paint tray is a common mistake that leads to drips, runs, and an uneven application. It’s not only messy but also wasteful.
How to Avoid It:
- Load Your Brush Properly: Dip your brush only about one-third of the way into the paint. Tap it gently against the side of the can to remove excess; don’t wipe it on the rim.
- Load Your Roller Evenly: Roll the roller back and forth in the paint trays well and then use the ribbed area to distribute the paint evenly around the cover. It should be saturated but not dripping.
Achieve a Professional Finish Every Time
Painting can be a rewarding DIY project, but avoiding these common mistakes is crucial for success. By taking the time to prepare your surfaces, using the right tools, and applying paint correctly, you can achieve a flawless finish that you’ll be proud of for years to come.
If you find yourself needing a hand with small painting jobs or want expert guidance, don’t hesitate to reach out. Paintbusters Australia offers a DIY consultant service to help you get started, and if you decide the job is too big, we can connect you with trusted, certified painters. Remember who ya gonna call for everything painting!