The Biggest DIY Painting Mistakes Homeowners Make
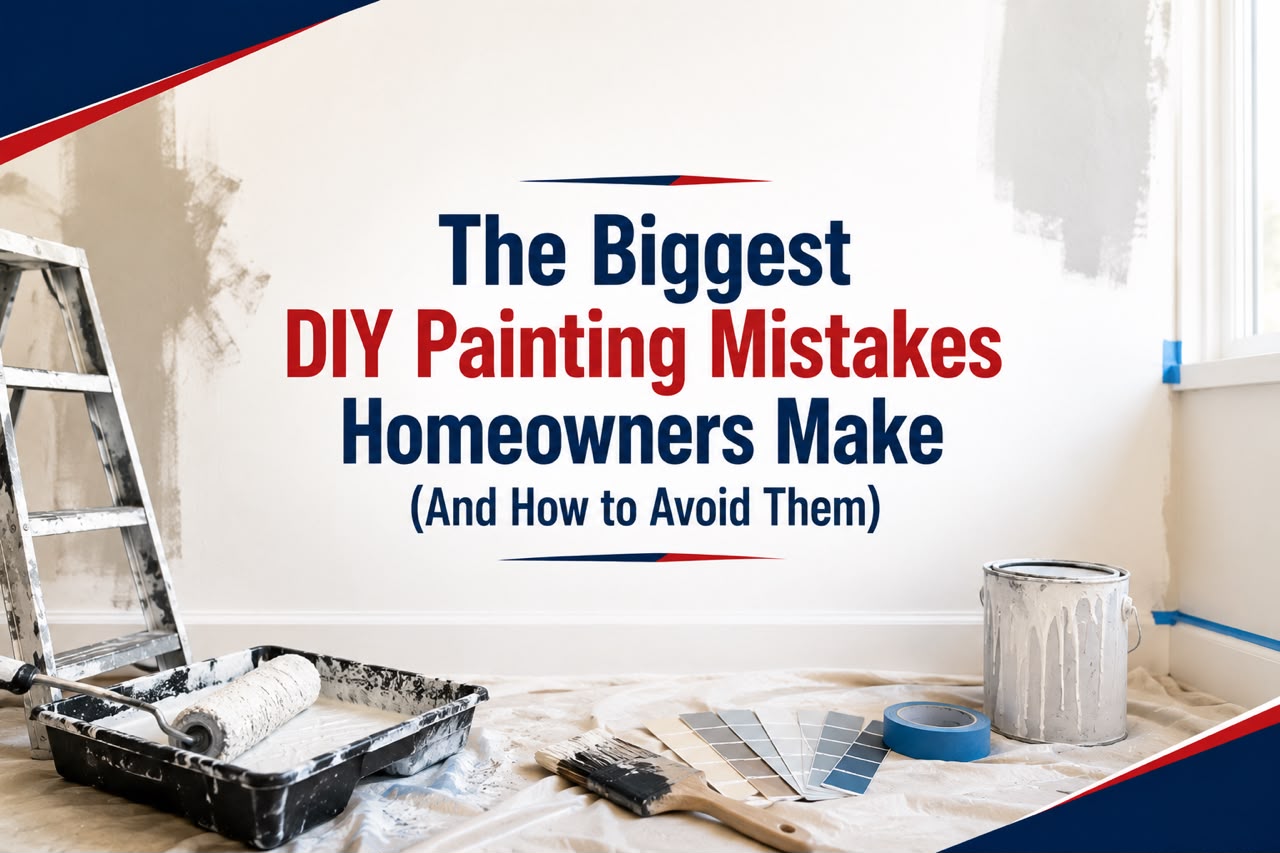
The most common DIY painting mistakes include skipping surface preparation, choosing the wrong paint type, using cheap tools, and applying too few coats. Most of these errors are easy to avoid with the right guidance, proper planning, and a clear understanding of what each painting project actually requires.
Painting a room yourself sounds simple enough. Grab a roller, crack open a tin, and get to work. But anyone who has attempted a DIY painting project without proper preparation knows that the results can disappoint quickly. Uneven coverage, visible brush marks, peeling edges, and patchy colour are all signs that something went wrong along the way.
The good news? Most of these problems are completely preventable. The mistakes covered in this guide are the ones that come up again and again, whether it is a first-time painter refreshing a bedroom or a more experienced renovator tackling a full interior repaint. Understanding where things typically go wrong is the fastest way to make sure your project goes right.
Why Does DIY Painting Go Wrong So Often?
The short answer is preparation. Experienced painters will tell you that the work done before a single drop of paint is applied determines the quality of the final result. Most homeowners focus on the painting itself and underestimate how much the groundwork matters.
That said, preparation is only part of the picture. Paint selection, tool quality, technique, and drying time all play a role. Cutting corners on any of these areas tends to show up in the finished product.
What Are the Most Common DIY Painting Mistakes?
Skipping Surface Preparation
This is the number one cause of poor results. Painting over dirty, dusty, or damaged surfaces means the paint has nothing solid to grip. The result is peeling, bubbling, or uneven adhesion within months of completing the job.
Before painting, walls should be cleaned thoroughly. Any cracks or holes need to be filled and sanded smooth. If there is existing paint that is flaking or chalky, it needs to come off completely before new paint goes on. This step takes time, but skipping it almost always means redoing the work sooner than expected.
Using the Wrong Type of Paint
Not all paints are created equal. Interior and exterior paints are formulated differently. Flat, eggshell, satin, and semi-gloss finishes each have specific applications. Using a flat finish in a bathroom or kitchen, for example, creates a surface that is difficult to clean and more susceptible to moisture damage.
Similarly, choosing a budget paint to save money often costs more in the long run. Lower-quality paints typically have less pigment, which means more coats are needed to achieve proper coverage. Understanding the difference between paint types before you buy is a step that is easy to overlook and costly to get wrong.
If you are unsure which products suit your project, PaintBusters Australia’s DIY Consultancy Service provides personalised advice on the right paints, quantities, and tools for your specific needs.
Not Using Primer
Primer creates a stable base for paint to adhere to and helps achieve a consistent finish. Many homeowners skip primer to save time or because they assume modern paints do not need it. This is one of the more common home painting mistakes, particularly when working over patched areas, bare plaster, or a surface with a significant colour change.
Bare surfaces absorb paint unevenly. Without primer, you are likely to need several more topcoats to reach even coverage, which negates the time saved by skipping the primer step in the first place.
Buying Low-Quality Brushes and Rollers
Tools matter more than most beginners expect. A cheap brush leaves bristles in the paint and creates streaks. A low-quality roller can produce an uneven texture and shed fibres onto the wall.
Investing in decent brushes and rollers makes a real difference to how smoothly paint applies and how professional the result looks. The right roller nap for the surface texture also affects coverage significantly. A smooth wall needs a short nap roller, while textured surfaces require a thicker one to get into the surface properly.
Painting in the Wrong Conditions
Temperature and humidity have a direct impact on how paint dries. Painting in very hot, cold, or humid conditions can cause the paint to dry too fast, too slow, or unevenly. This leads to lap marks, poor adhesion, and a finish that does not hold up over time.
Most water-based paints perform best applied when temperatures are between 10°C and 35°C with moderate humidity. Always check the paint manufacturer’s recommendations before starting, particularly if you are working outdoors or in a space without climate control.
Not Allowing Enough Drying Time Between Coats
Impatience is one of the most common painting mistakes to avoid. Applying a second coat before the first has properly dried causes the paint to lift, streak, or peel. The surface might feel dry to the touch within an hour, but that does not mean it is ready for another coat.
Drying time varies depending on the paint type, temperature, and ventilation. Always follow the recommended recoat time listed on the tin. In most cases, this is at least two to four hours for water-based paints, and longer in cooler or more humid conditions.
Neglecting to Protect Surfaces and Furniture
Drop cloths, painter’s tape, and plastic sheeting are not optional extras. They protect floors, skirting boards, light switches, and furniture from drips and splatter. Paint on the wrong surface can be difficult or impossible to remove cleanly, particularly on timber flooring or soft furnishings.
Painter’s tape along edges also helps create clean lines between walls and ceilings or where two colours meet. Take the time to apply it properly and remove it while the paint is still slightly tacky to avoid peeling the new paint with it.
Choosing the Wrong Colours
Colour selection is something many homeowners underestimate. A shade that looks great on a small sample card can look entirely different once it covers an entire wall. Lighting conditions, room size, and surrounding colours all affect how a paint shade reads in a finished space.
Testing colours as large swatches on the actual wall before committing is worth the extra step. If you want professional guidance on selecting shades that work with your lighting and existing furnishings, PaintBusters Australia’s Colour Consultancy Service offers tailored advice to help you get it right the first time.
Painting Over Lead-Based Paint Without Testing First
This is a mistake with real safety implications, not just aesthetic ones. Homes built before the 1970s in Australia are likely to contain lead-based paint. Sanding or disturbing these surfaces without proper precautions releases lead dust, which poses serious health risks, particularly for children and pregnant women.
If your home was built before that period, it is worth having the surfaces tested before you start any preparation work. PaintBusters Australia offers a professional Lead Paint Test Service that gives you a clear picture of what you are working with and what steps to take next.
How to Avoid DIY Painting Mistakes: A Simple Checklist
Getting a clean, lasting result comes down to working through the process methodically. Here is a straightforward checklist to follow before you start:
- Clean all surfaces and allow them to dry completely
- Fill cracks and sand smooth before priming
- Use an appropriate primer for the surface type
- Select the correct paint finish for the room and its function
- Invest in quality brushes and rollers suited to the surface
- Check the weather or room conditions before starting
- Protect floors, furniture, and trims with drop cloths and painter’s tape
- Allow full drying time between each coat
- Test colours on the wall before buying full quantities
What Should I Do If I Am Not Sure Where to Start?
Not every homeowner feels confident about which products to buy, how much paint to order, or which tools to use for a specific surface. Getting it wrong adds cost, time, and frustration to what should be a satisfying project.
PaintBusters Australia’s DIY Consultancy Service is designed precisely for this situation. For $300, you receive expert guidance on everything from preparation through to the final coat, including specific product recommendations and cost-saving tips. Most clients save more on materials than the consultancy fee itself. Sessions are available after hours and on weekends to suit busy schedules, and you can even arrange for a qualified tradesperson to work alongside you if you want hands-on support.
Get It Right the First Time
DIY painting projects can deliver genuinely impressive results when approached with the right preparation and knowledge. The mistakes covered here are common, but they are all avoidable with a bit of planning and the right advice from the start.
If you want to skip the trial and error and go straight to a result you will be proud of, PaintBusters Australia is here to help. Explore the full range of consultancy services on offer, or get in touch directly to talk through your project before you start.
Frequently Asked Questions
What are the most common DIY painting mistakes homeowners make?
The most common DIY painting mistakes include skipping surface preparation, using the wrong paint type or finish, not priming before painting, applying coats before the previous one has dried, using low-quality tools, and failing to protect surrounding surfaces with drop cloths or painter’s tape.
How do I avoid painting mistakes at home?
Proper preparation is the most effective way to avoid painting mistakes. This means cleaning and repairing surfaces before painting, using primer on bare or patched areas, selecting the right paint for the room’s function, investing in quality brushes and rollers, and allowing adequate drying time between coats.
What should I do before painting a room?
Before painting a room, clean all walls and allow them to dry. Fill any holes or cracks with filler and sand smooth. Apply painter’s tape along edges and cover floors and furniture with drop cloths. Choose an appropriate primer and apply it to bare or previously repaired surfaces before adding topcoats.
Can I paint my house myself successfully?
Yes, with the right preparation, tools, and guidance, most homeowners can achieve professional-quality results on DIY painting projects. The key is to understand what each stage of the process requires and not to rush through preparation or drying times. Professional advice from a service like PaintBusters Australia’s DIY Consultancy can significantly improve your results and help you avoid costly errors.
Is it safe to sand or remove old paint in a pre-1970s home in Australia?
Not without testing first. Homes built before the 1970s in Australia may contain lead-based paint. Sanding or disturbing these surfaces without testing can release harmful lead dust. A professional Lead Paint Test will confirm whether lead is present and advise on the safest course of action.
How do I choose the right paint colour for my room?
Test any colours you are considering as large swatches directly on the wall and observe them at different times of day under both natural and artificial light. Room size, ceiling height, and the colours of your furniture and flooring all influence how a shade appears on the wall. If you want professional guidance, PaintBusters Australia’s Colour Consultancy Service provides tailored recommendations based on your specific space.